FBB TEMPORARY TILLER REPAIR
Temporary tiller repair sequence on FBB 'Bojangles' by Barry Willoughby.
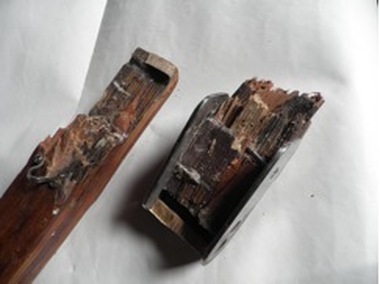
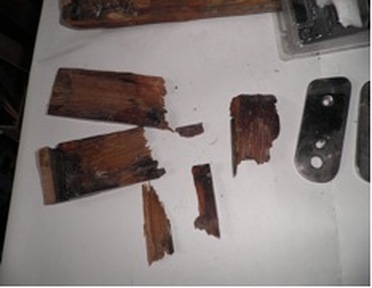
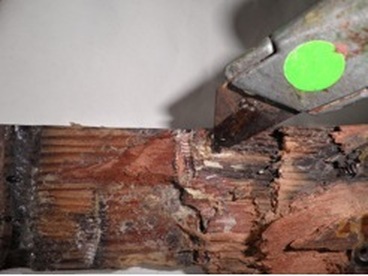
1. View of the two main broken pieces.
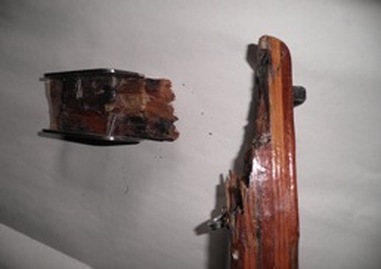
2. Rotated view, all fittings remain in place.
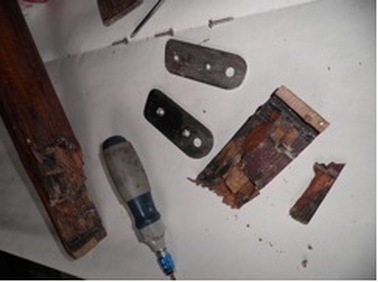
3. Starting to remove fittings.
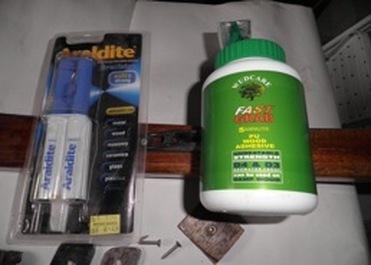
4. Which glue to use?
5. Assembling all the pieces
of the broken end.
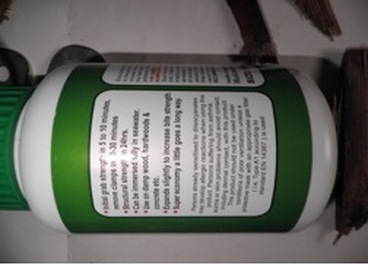
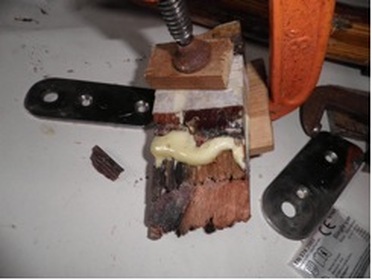
6. The final choice of glue but
wear gloves.
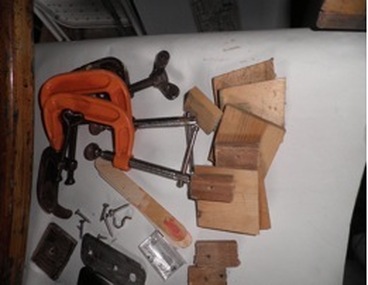
7. Assembling the clamps and pads.
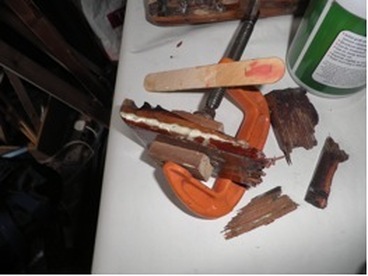
8. Gluing the two largest pieces together.
9. Picking out the old glue.
10. Use masking tape to protect pads from glue.
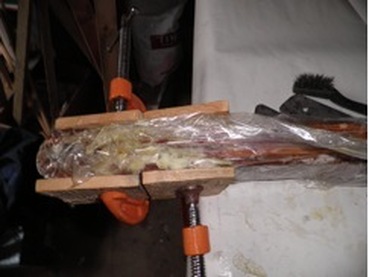
11. A plastic bag will do as well for the final join.
12. An orbital sander is the “bees knees.”
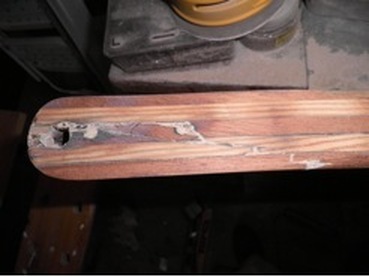
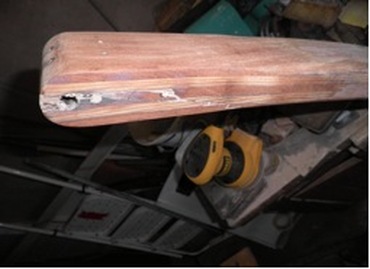
13. Starboard side view of repair.
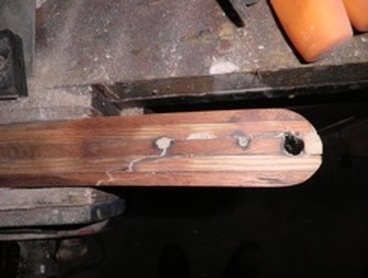
14. Port side view.
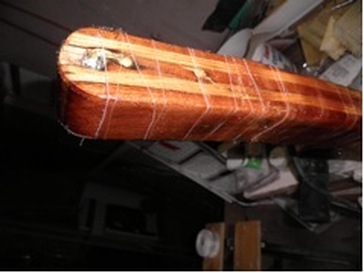
15. The repair, glassed and epoxied.
The tiller was placed in a wood vice so that the rudder end stood vertical, with the free end on the floor.
The rudder end was painted with epoxy.
A strip of glass tape, about two foot long, was cut and draped over the tiller end, so that it hung down equally both sides.
This was painted in place with more epoxy.
A second strip of tape was applied and the process repeated.
A bandage, about three foot long, was cut from the roll of glass tape and wrapped tightly around the tiller end. More epoxy was painted/ stippled on the bandage until it was saturated and became opaque.
The process was repeated again with a second bandage.
Note 1: The tiller is being left to dry and will be sanded down and varnished later. Only time will tell if this repair is adequate.
